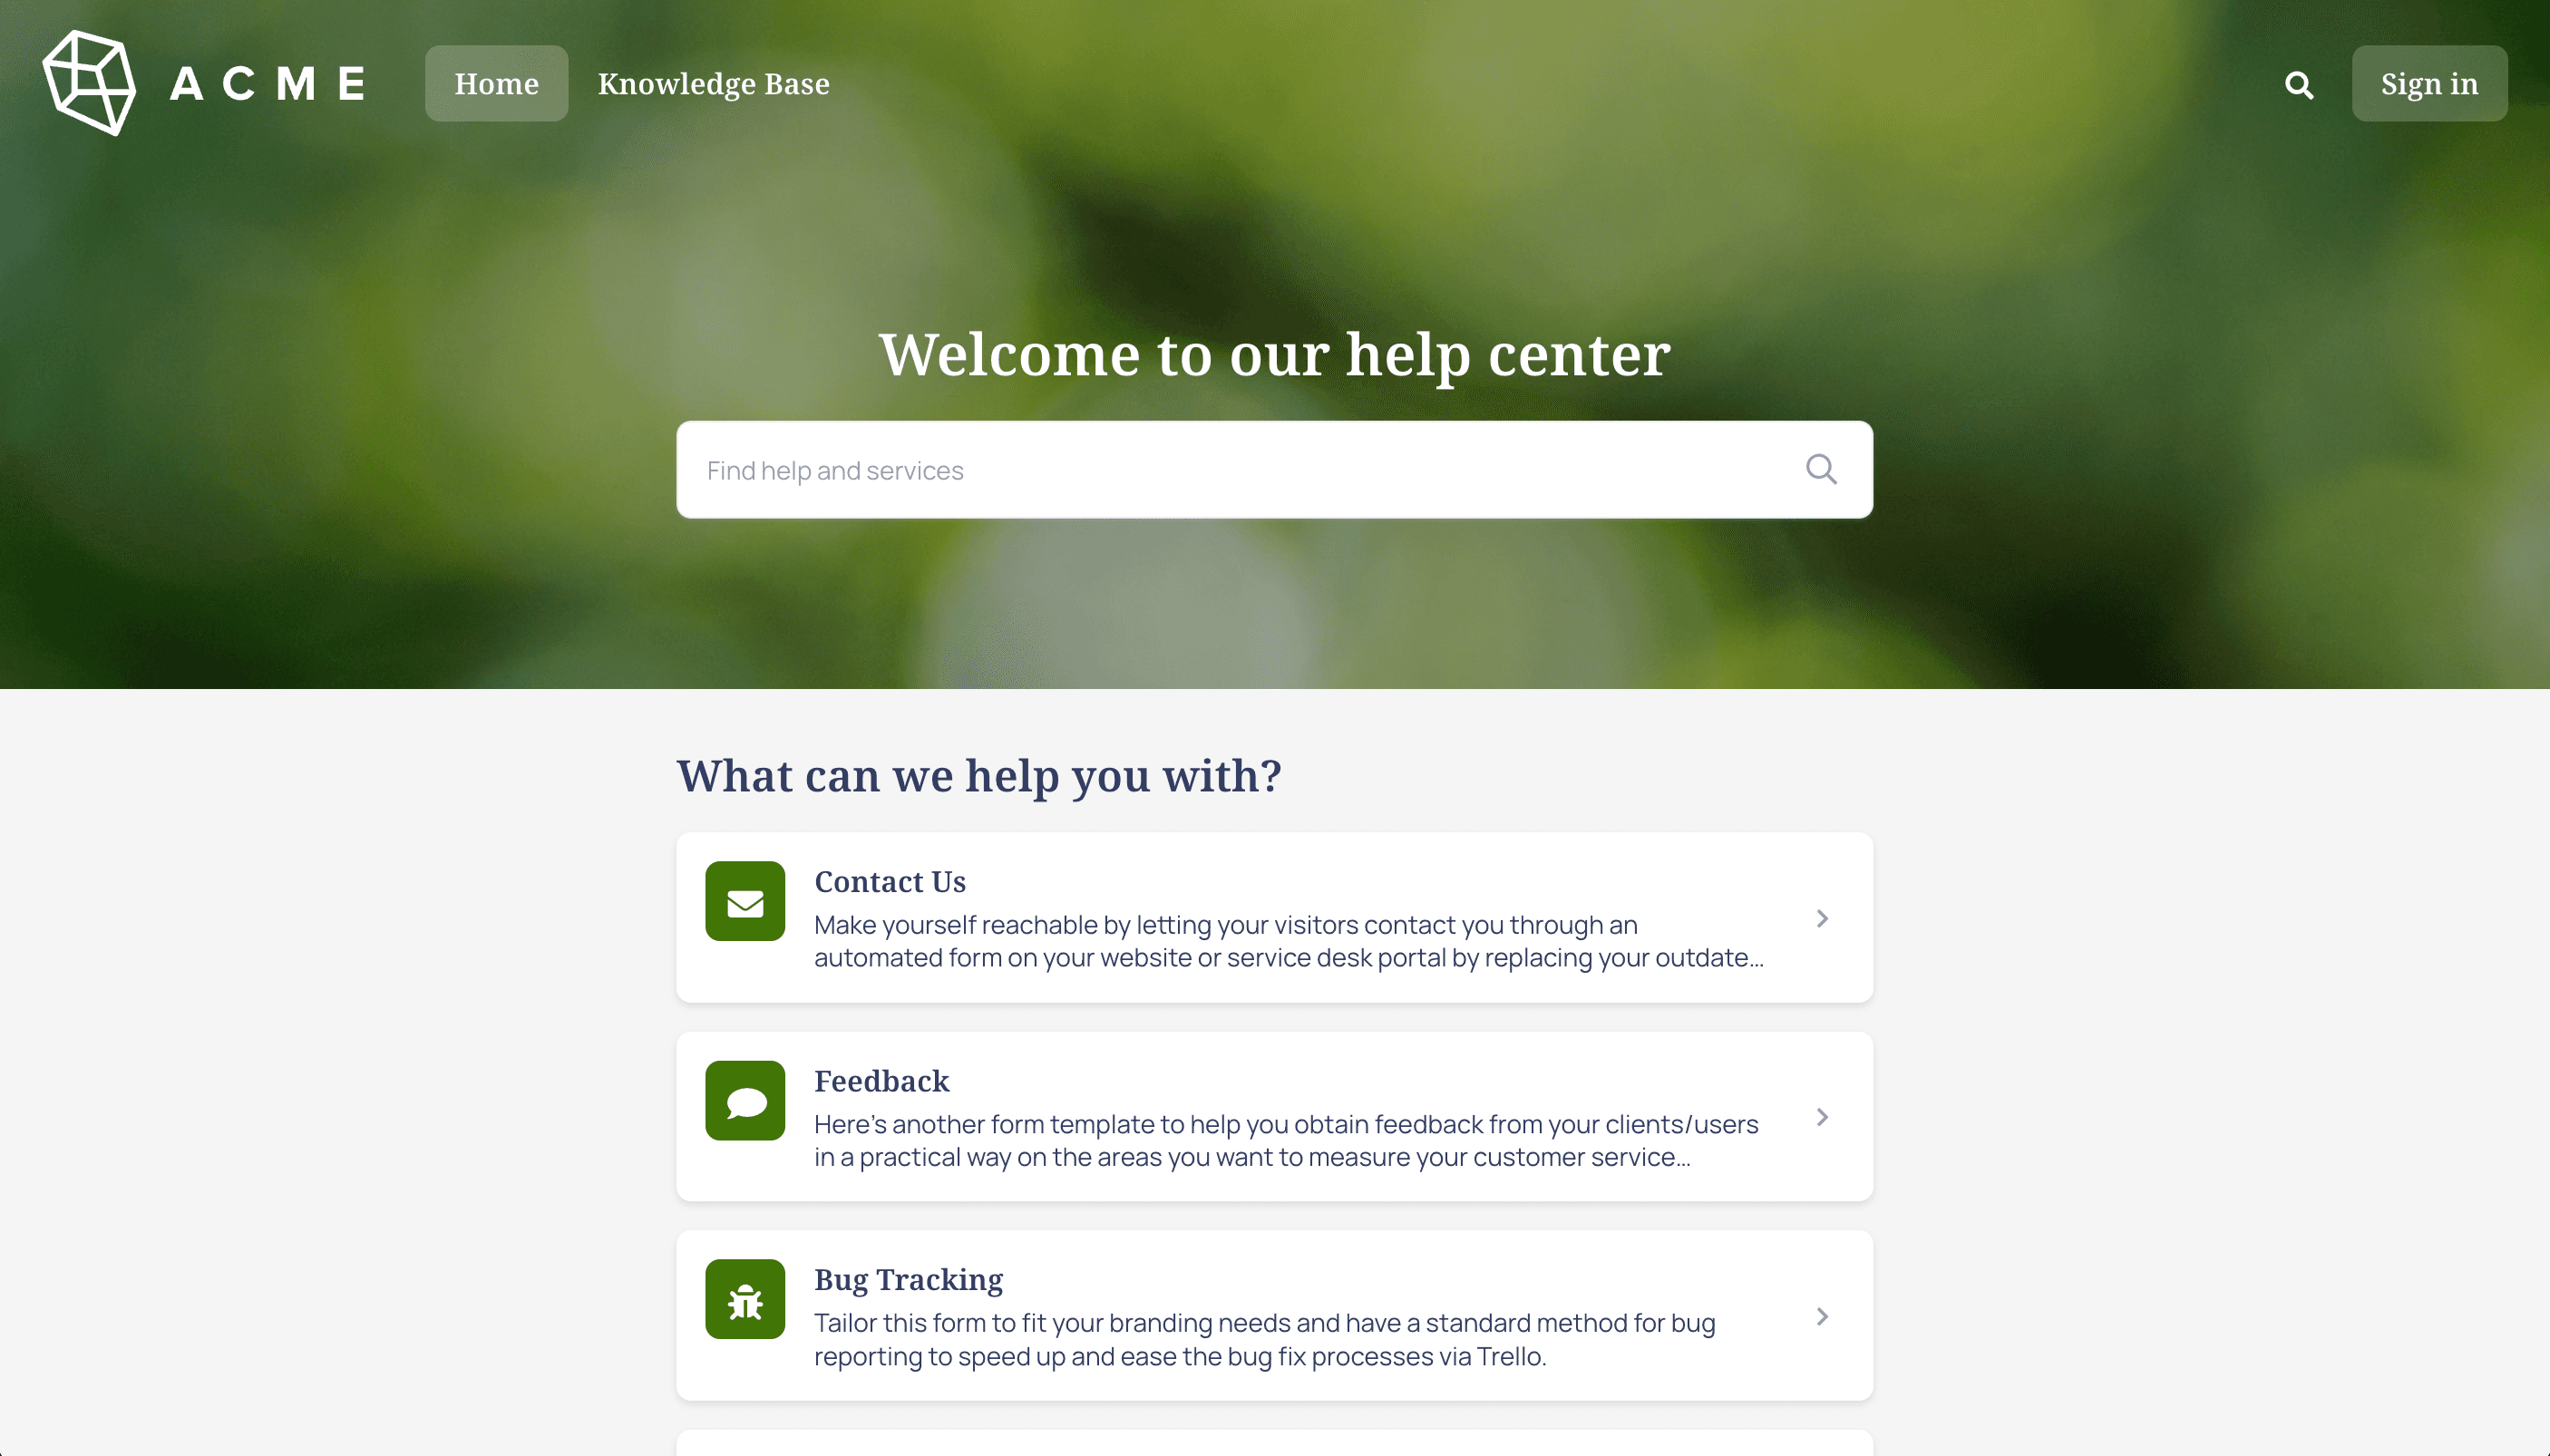
Branding is essential for any business. It not only creates a memorable impression on customers but also establishes consistency across platforms. A well-branded service desk fosters customer trust, strengthens brand identity, and contributes to long-term loyalty. If branding is crucial for customer-facing touchpoints, then your service desk should reflect your brand too.
With Hipporello’s Service Desk for Trello, you can customize your customer portal to match your company’s branding. From visual elements to domain settings, you can create a professional and cohesive customer service experience.
Why branding Hipporello Service Desk is important
A branded service desk improves customer experience in many ways, such as:
Increasing recognition – The use of familiar logos, colors and themes allows your customers to immediately identify your business.
Building trust – A user-friendly and consistent interface indirectly tells your users that they are dealing with a professional company.
Improving engagement – Customers are almost always more likely to interact with a branded service portal, and this increases response rates for support requests, bug reports and other inquiries.
Did you know? According to Forbes, consistent branding across all platforms can increase revenue by up to 23%.
Now, let’s explore how to brand your Hipporello Service Desk effectively.
Step-by-step guide to branding your service desk
Let’s see how we can help you create a beautiful and cohesive experience for your Hipporello Service Desk users.
Customize your service desk colors
All the service desk design customizations are done in Settings->Service Desk Design & Content. You can change the primary color, color of the button texts, body texts, and the cover background.
First, click the color box beside one of the options above.
Next, you can either use the color selector to choose a color or manually enter the number for the color of your preference.
Add your logo and banner
You can also change the look and feel of your service desk by adding your logo and banner. Having your logo and banner on the Hipporello Service Desk helps to create a resounding impression with elements that are congruent with your usual branding for your customers and leads.
The image size shouldn’t be any smaller than 1440px by 380px. However, if the image does not properly fit the required size, we scale it accordingly to make it fit. Make sure to choose the background color to match the banner when needed.
To change the logo and banner:
Go to the Settings->Service Desk Design and Content.
Choose Service Desk and click Design on the left-hand side menu.
And now you can upload your logo and banner and enjoy the simplicity and beauty of the branding elements you already know.
You want to update the images that you’ve uploaded and are in use now? Go to the same menu and upload new images for your logo and banner.
Set up a custom domain
If you wish to add a custom domain to your domain configuration, here’s what you need to do:
Access your Hipporello Service Desk Admin page by clicking the Hipporello button on the top right of your Trello board, then on Hipporello Admin.
Click on the Settings button, then click on the User Portal.
Click on the Add a Custom Domain button.
Enter your Custom Domain. You can use a domain address such as www. yourcompany.com or you can use an address such as test1.yourcompany.com, as can be seen below:
When you click on the Add button, the DNS Configuration window will appear.
Follow Hipporello Service Desk instructions in the DNS Configuration window and add a CNAME record to your DNS provider. The first time a custom domain is added, the “DNS Not Verified” message will appear. This is normal, as the change might take up to 24 hours to take effect.
Once the domain is resolved, the green dot will appear and the status will display the OK message.
Configure Outgoing Email (SMTP) Settings
Having a custom outgoing email address means that the communications from your service desk appear professional and trustworthy. Instead of using generic or system-generated email addresses, configuring your own SMTP (Simple Mail Transfer Protocol) settings allows you to send messages from your company’s domain (e.g., support@ yourcompany.com).
This branded email domain improves customer trust as it makes your messages instantly recognizable. This reduces the risk of emails being marked as spam, and ensures a consistent brand identity across all interactions.
How to set up SMTP settings:
Navigate to Settings → Email Servers and Preferences.
Go to Email Servers.
Click +Add new email server and choose Custom SMTP as your email provider.
Configure the details on the screen that opens.
Save your settings.
Final thoughts
Hipporello Service Desk aims to add an extra perk to your service desk and Trello experience by including fields that are customizable to your business. Are you ready to start building your killer Hipporello Service Desk with your company/organization colors, logos, banners, custom domains and SMTPs? Yes, we thought so. Add Service Desk Power-up to your Trello board now to start enjoying the experience.
More From Hipporello